It was bound to happen....
I guess this makes me a true blogging crafty nerd girl.
I wanted to make a flower head band(or 3) for some photo shoots I have coming up, but I couldn't find any how-to's!
Soooo I had to use my imagination and whip something up myself!! Oh boy.
This is what making-it-up-as-you-go looks like:
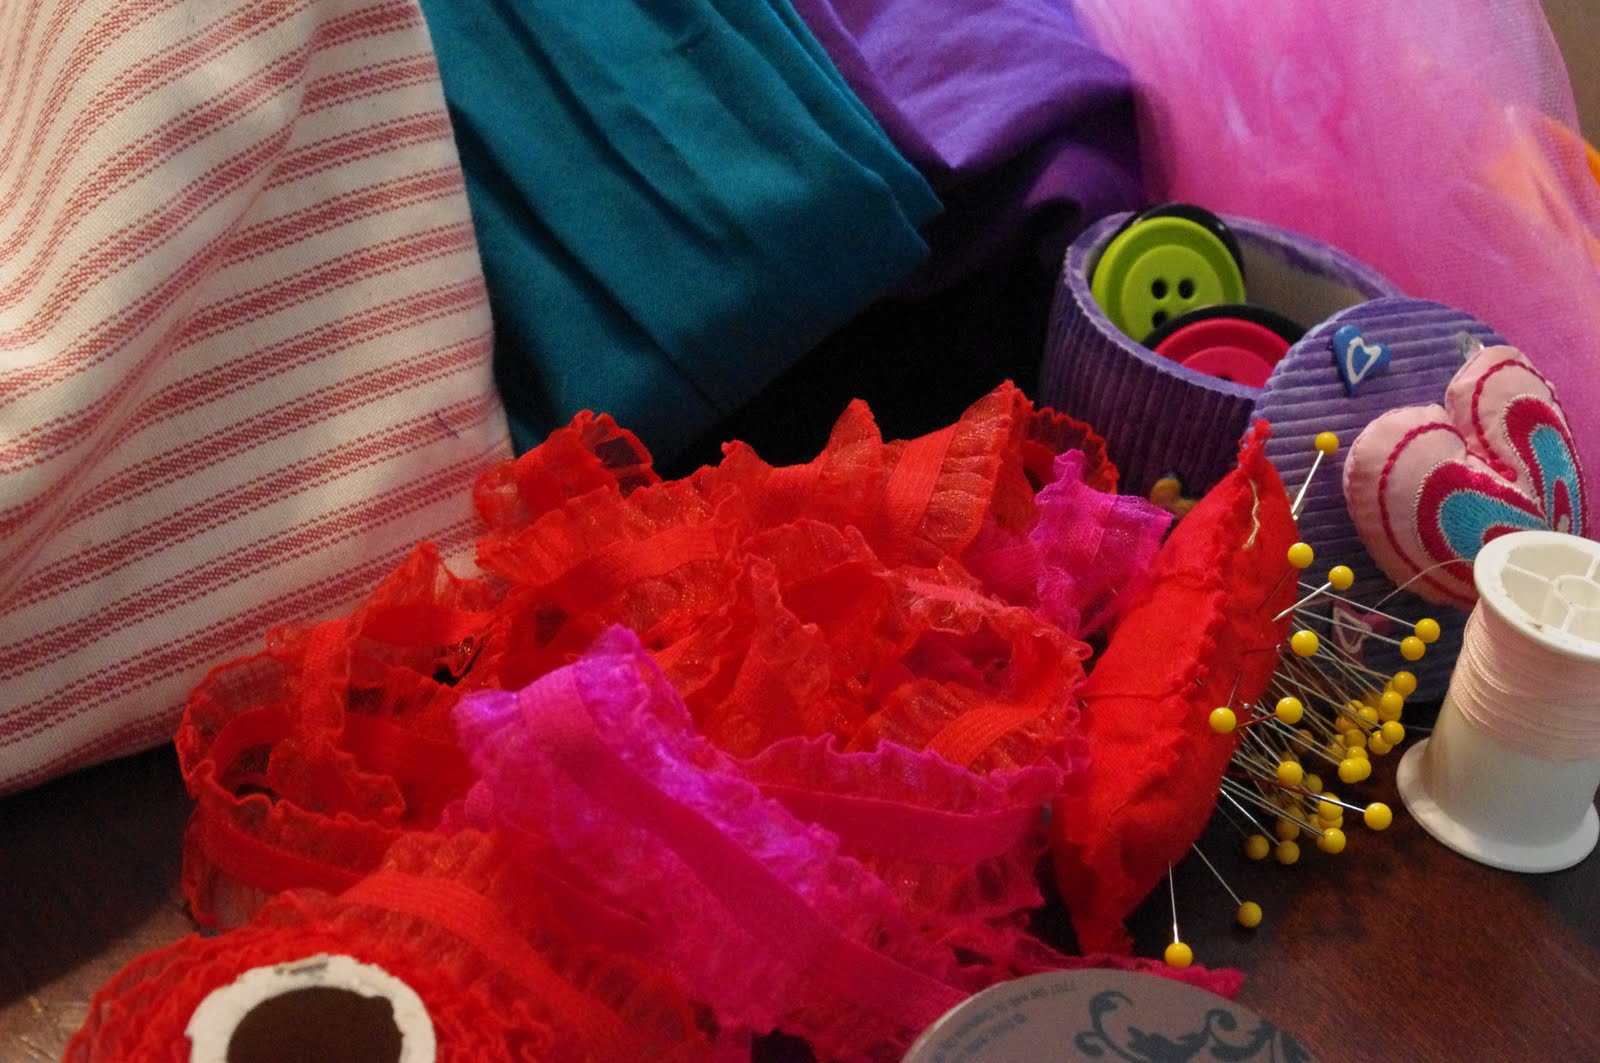
First off, grab all the girly things you have around your house! I came up with: colorful fabric, buttons, tulle, and you must have stretchy ribbon to use as the headband! (a needle and thread will be of use, also)
Have your favorite little model stretch the ribbon around her head to measure out the length needed. We used about 16".
Next, cut 9-11" (length) x 2 1/2-3" (width) inches of fabric to make the flower. Fold in half length wise, and iron flat.
Meanwhile, have your helper secure all pins into all your button holes. This makes for a beautiful side project ;)
Sew large stitches along the open end of fabric(make sure your thread is extra long).
Once sewn together, pull your thread to gather your fabric.
See your flower starting to take shape?! Sew the open end of the flower and tie off.
Your flower should look something like this, if not better!
Grab your tulle, about 5x2", fold in half and sew(just like you did your flower).
Gather by pulling your thread tight.
There's the inside of your flower!
Pull your tulle into the hole left in the middle of your flower.
Turn over and sew the tulle and flower together.
Next, get the ribbon you cut earlier and sew ends together. You may want to do a double row of stitches for extra security. (we don't want any insecure ribbons!)
Now it's time to sew your beautiful flower onto the ribbon! Sew it over the seam to hide it.
There ya go! Easy as pie, right??
I did another one.
Just put a button over the second layer of fabric(sewn just like you did the tulle!) and you'll get this little number.
These were so much fun to make!! If you try them, let me know how they turn out!! I'd love to see some pictures, too =)